written by Silwa af Swaneholm
This blogpost is from my handout “How to make pigment and paint from lapis lazuli” made for my class on how to make pigments held at Cudgel Wars in Aarnimetsä AS LIII.
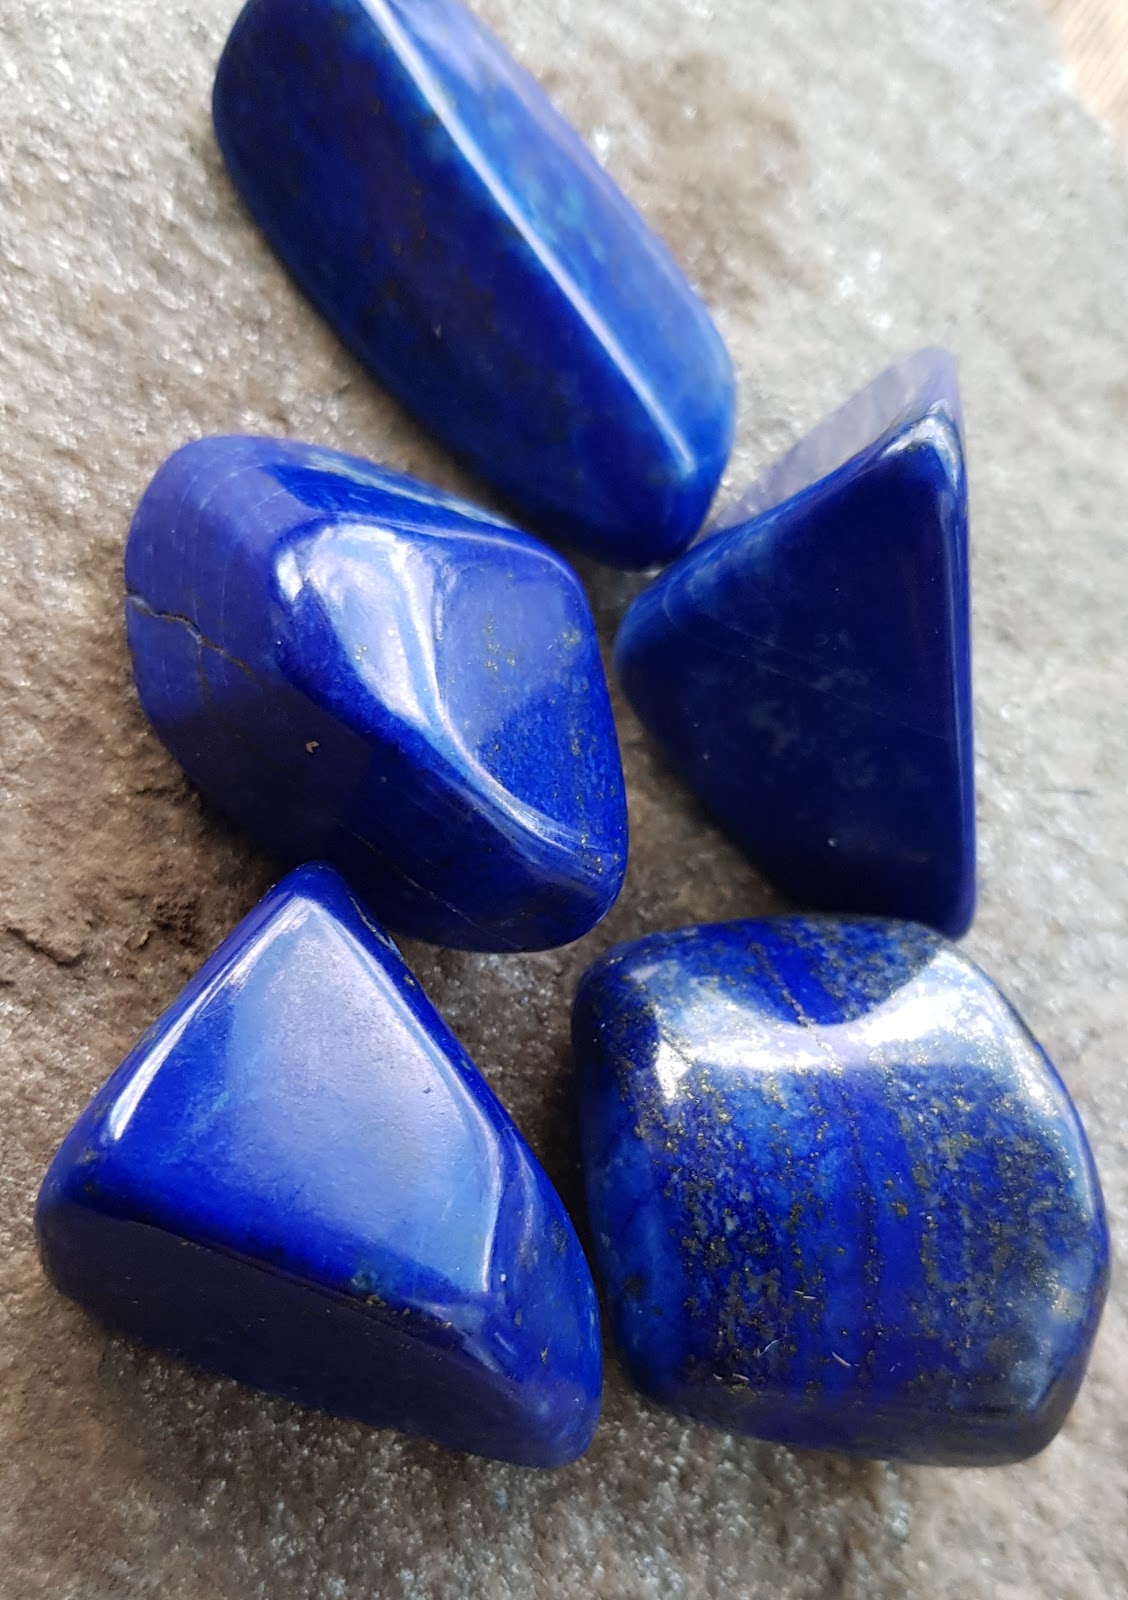
About lapis lazuli
The colour ultramarineblue was made from the stone lapis lazuli. It was a very expensive material and almost had the same price as gold! They started to make and use ultramarine quite early outside of Europe before it became popular here.The stone was imported from over the seas, mostly from Afghanistan, then known as Persia.
Lapis lazuli wasn’t as important for medieval painters as azurite was, maybe because of its price or because of the long process it took to separate the lazurite from its impurities. Methods for extracting pigment out of lapis lazuli were developed outside of Europe and the pigment were imported ready made before craftsmen in Europe learned how to make paint from the stone them self. A few recipes for making ultramarine have been found in books in Europe from the thirteenth century. and it seems to have been common sometime during the fourteenth century or maybe the fifteenth. In the fifteenth century ultramarine is mentioned mostly in books from Italy, but also France and Germany.
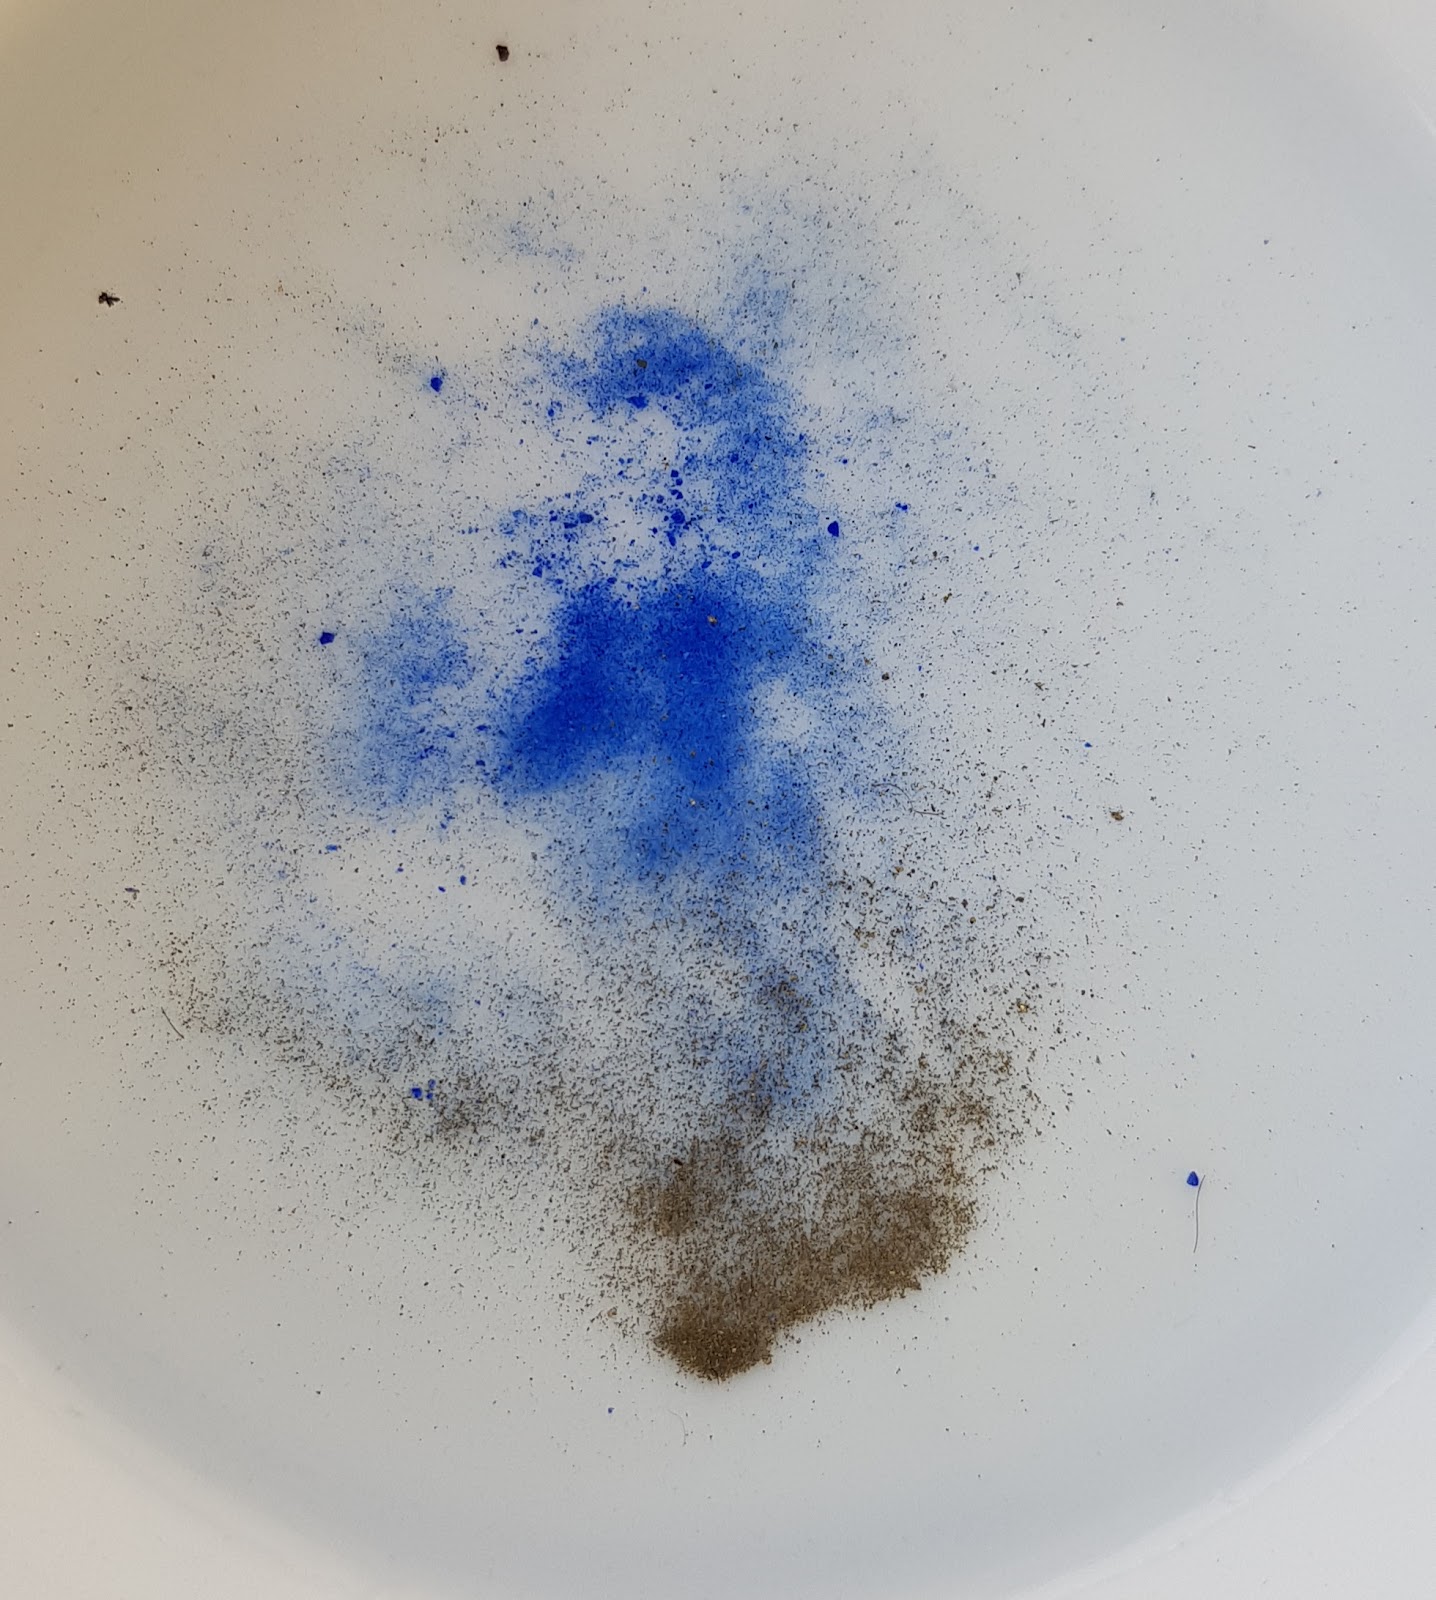
A successful way of separating impurities from the stone started to develop in the fourteenth century. All lapis lazuli stones contains the minerals pyrite and calcite (and other impurities that you can’t see with your eyes). Calcite is white and pyrite sparkles like gold. The calcite makes the pigment look very grey and not as blue as the stone itself. If you don’t buy high quality stones you will end up with a grey blue colour called ultramarine ash. Because of this impurities, separating the pigment from them is necessary! Separating can’t be done with only water.
Cennini thought that ultramarine azure made from lapis lazuli was the most perfect color out of all colours and describes how to make colour of it in his book “Il libro dell´arte, and write a detailed descriptkion about what to think about when choosing stones, grinding the pigment and more. He also wrote about a method to separate calcite and pyrite from the lazurite, mineral that bears the blue of the pigment:
“…When you have this powder all ready, get six ounces of pine rosin from the druggists, three ounces of gum mastic, and three ounces of new wax, for each pound of lapis lazuli; put all these things into a new pipkin, and melt them up together. Then take a white linen cloth, and strain these things into a glazed washbasin. Then take a pound of the lapis lazuli powder, and mix it all up thoroughly, and make a plastic of it, all incorporated together. And have some linseed oil, and always keep your hands well greased with this oil, so as to be able to handle the plastic. You must keep this plastic for at least three days and three nights, working it over a little every day; and bear in mind that you may keep it in the plastic for two weeks or a month, or as long as you like. When you want to extract the blue from it, adopt this method. Make two sticks out of a stout rod, neither too thick nor too thin; and let them each be a foot long; and have them well rounded at the top and bottom, and nicely smoothed. And then have your plastic in the glazed washbasin where you have been keeping it; and put into it about a porringerful of lye, fairly warm; and with these two sticks, one in each hand, turn over and squeeze and knead this plastic, this way and that, just as you work over bread dough with your hand, in just the same way. When you have done this until you see that the lye is saturated with blue, draw it off into a glazed porringer. Then take as much lye again, and put it on to the plastic, and work it over with these sticks as before. When the lye has turned quite blue, put it into another glazed porringer, and put as much lye again on to the plastic, and press it out again in the usual way. And when the lye is quite blue, put it into another glazed porringer. And go on doing this for several days in the same way, until the plastic will no longer color the lye; and then throw it away, for it is no longer any good. Then arrange all these porringers in front of you on a table, in series: that is, the yields, first, second, third, fourth, arranged in succession; and with your hand stir up in each one the lye with the blue which, on account of the heaviness of this blue, will have gone to the bottom; and then you will learn the yields of the blue. Weigh the question of how many grades of blue you want: whether three or four, or six, or however many you want; bearing in mind that the first yields are the best, just as the first porringer is better than the second. And so, if you have eighteen porringers of the yields, and you wish to make three grades of blue, you take six of the porringers and mix them together, and reduce it to one porringer; and that will be one grade. And in the same way with the others. But bear in mind that if you have good lapis lazuli, the blue from the first two yields will be worth eight ducats an ounce. The last two yields are worse than ashes: therefore be prudent in your observation, so as not to spoil the first blues for the poor ones. And every day drain off the lye from the porrinkgers, until the blues are dry. When they are perfectly dry, do them up in leather, or in bladders, or in purses, accokrding to the divisions which you have.” The craftsman’s handbook, “Il libro dell’arte” Cennino d’Andrea Cennini, translated by D. Thompson. p.37-38
I followed his instruction on how to prepare the pigment step by step but after trying this way of rinsing the pigment from impurities in the plastic three times and realizing that most of the pigment got stuck in the plastic I decide to try another way. After searching the web I decided to try and separate the pigment with a water and lye solution and a lot of pouring. My pigment ended up looking the same as when using Cenninis method, but left me with a lot more pigment so decided to use this method instead. I will try to figure out what I do wrong when using the “Cennini way”. A good article that helped me can be found here: https://www.michaelharding.co.uk/lapis-lazuli/
Materials needed for making paint and cleaning pigment the “Cennini way”
Lapis lazuli
Safety mask and gloves
Mortar and pestle
Slab and muller
Jars, to rinse the pigment in
A flat spatula
Pipette
Something to stir the pigment with (I use grill sticks)
Distilled water or rain water
Lye
Gum mastic
Pine resin
Beeswax
Linseed oil
Casserole (to melt the “plastic” ingredients in, note that this is hard to clean and might not be able to use for cooking again)
Gum arabic
Shells, or something else to store your paint in.
Small glass jars (if you don’t want to make paint from all your pigment)
Materials needed for making paint and cleaning pigment “my way”
Lapis lazuli
Safety mask and gloves
Mortar and pestle
Slab and muller
Jars, to rinse the pigment in
A flat spatula
Pipette
Something to stir the pigment with (I use grill sticks)
Distilled water or rain water
Lye or Sodium bicarbonate
Gum arabic
Honey or unrefined sugar
Shells, or something else to store your paint in.
Small glass jars (if you don’t want to make paint from all your pigment)
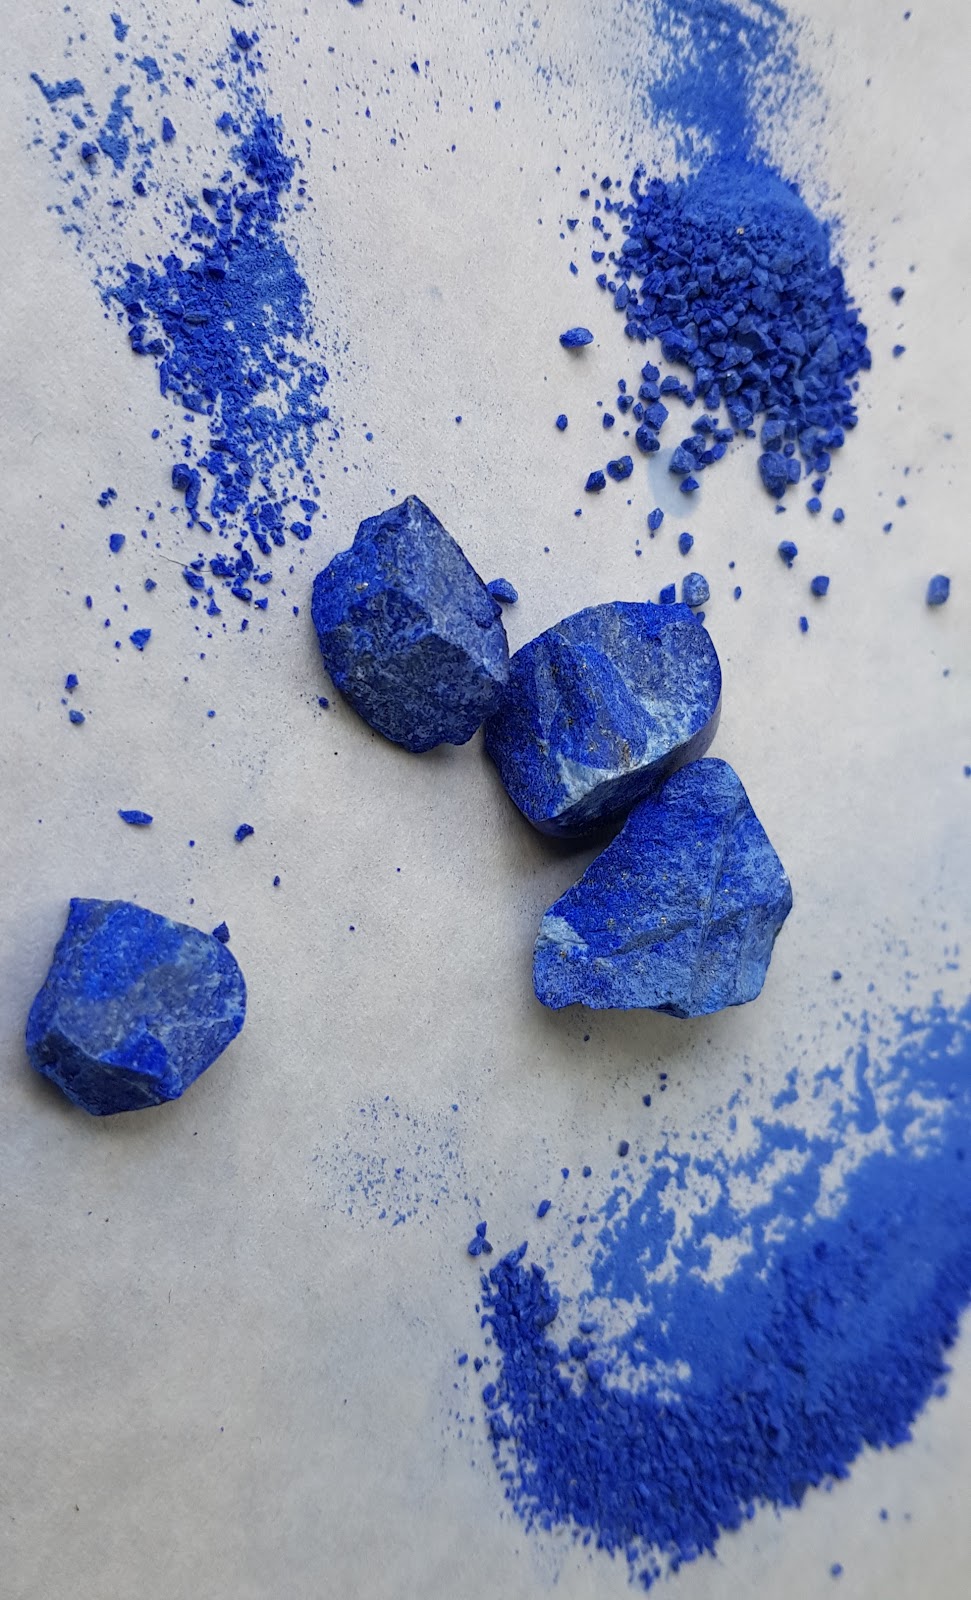
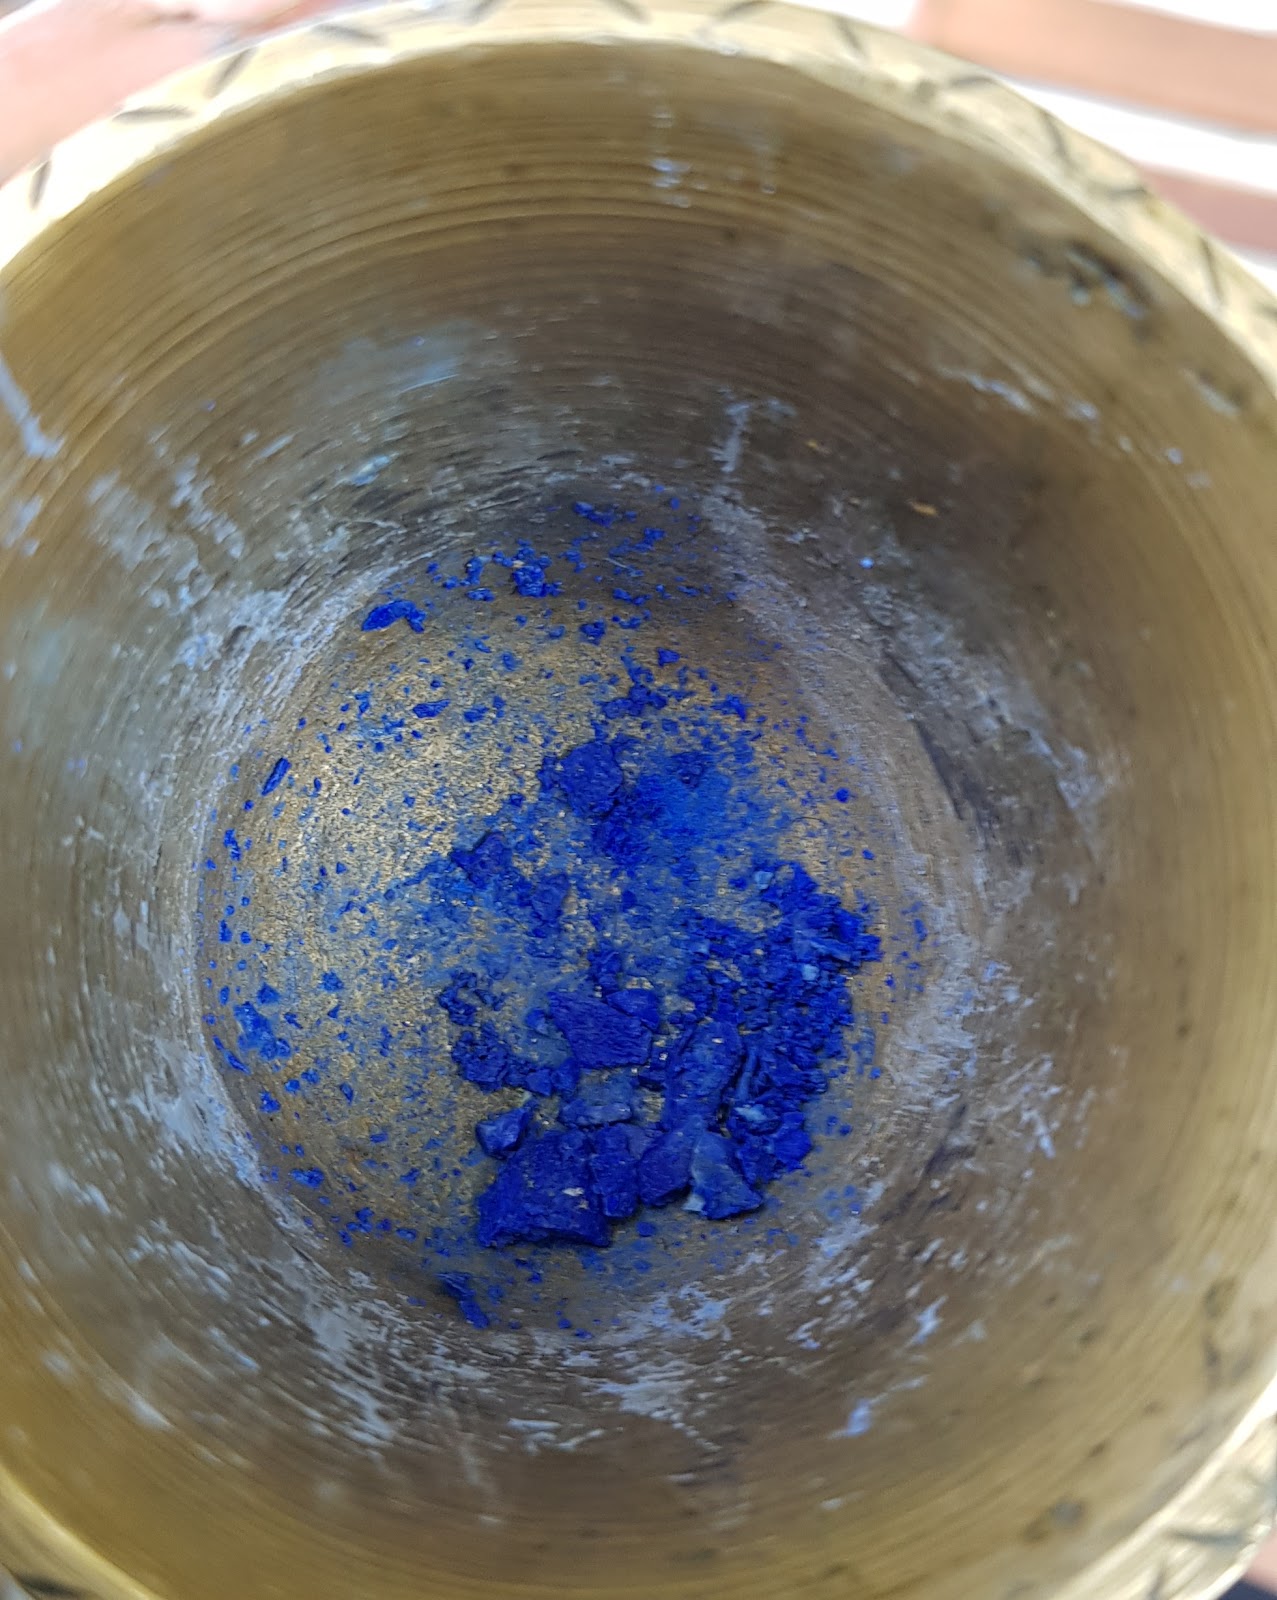
1. Start with beating and crushing the stone/stones in a mortar. If you have made paint from malachite and/or azurite you will note that lapis lazuli demands much more work to be grinded to a fine powder! Hold the mortar so that your hand covers as much of the opening as possible while you still should be able to beat the stones with the pestle. This way you avoid having small pieces of stone and dust everywhere. When the first crushing is done you should start grinding the pieces into a powder. To make this process easier use a sieve to separate the finer particles so that you only need to grind the pieces of stone that is to big.
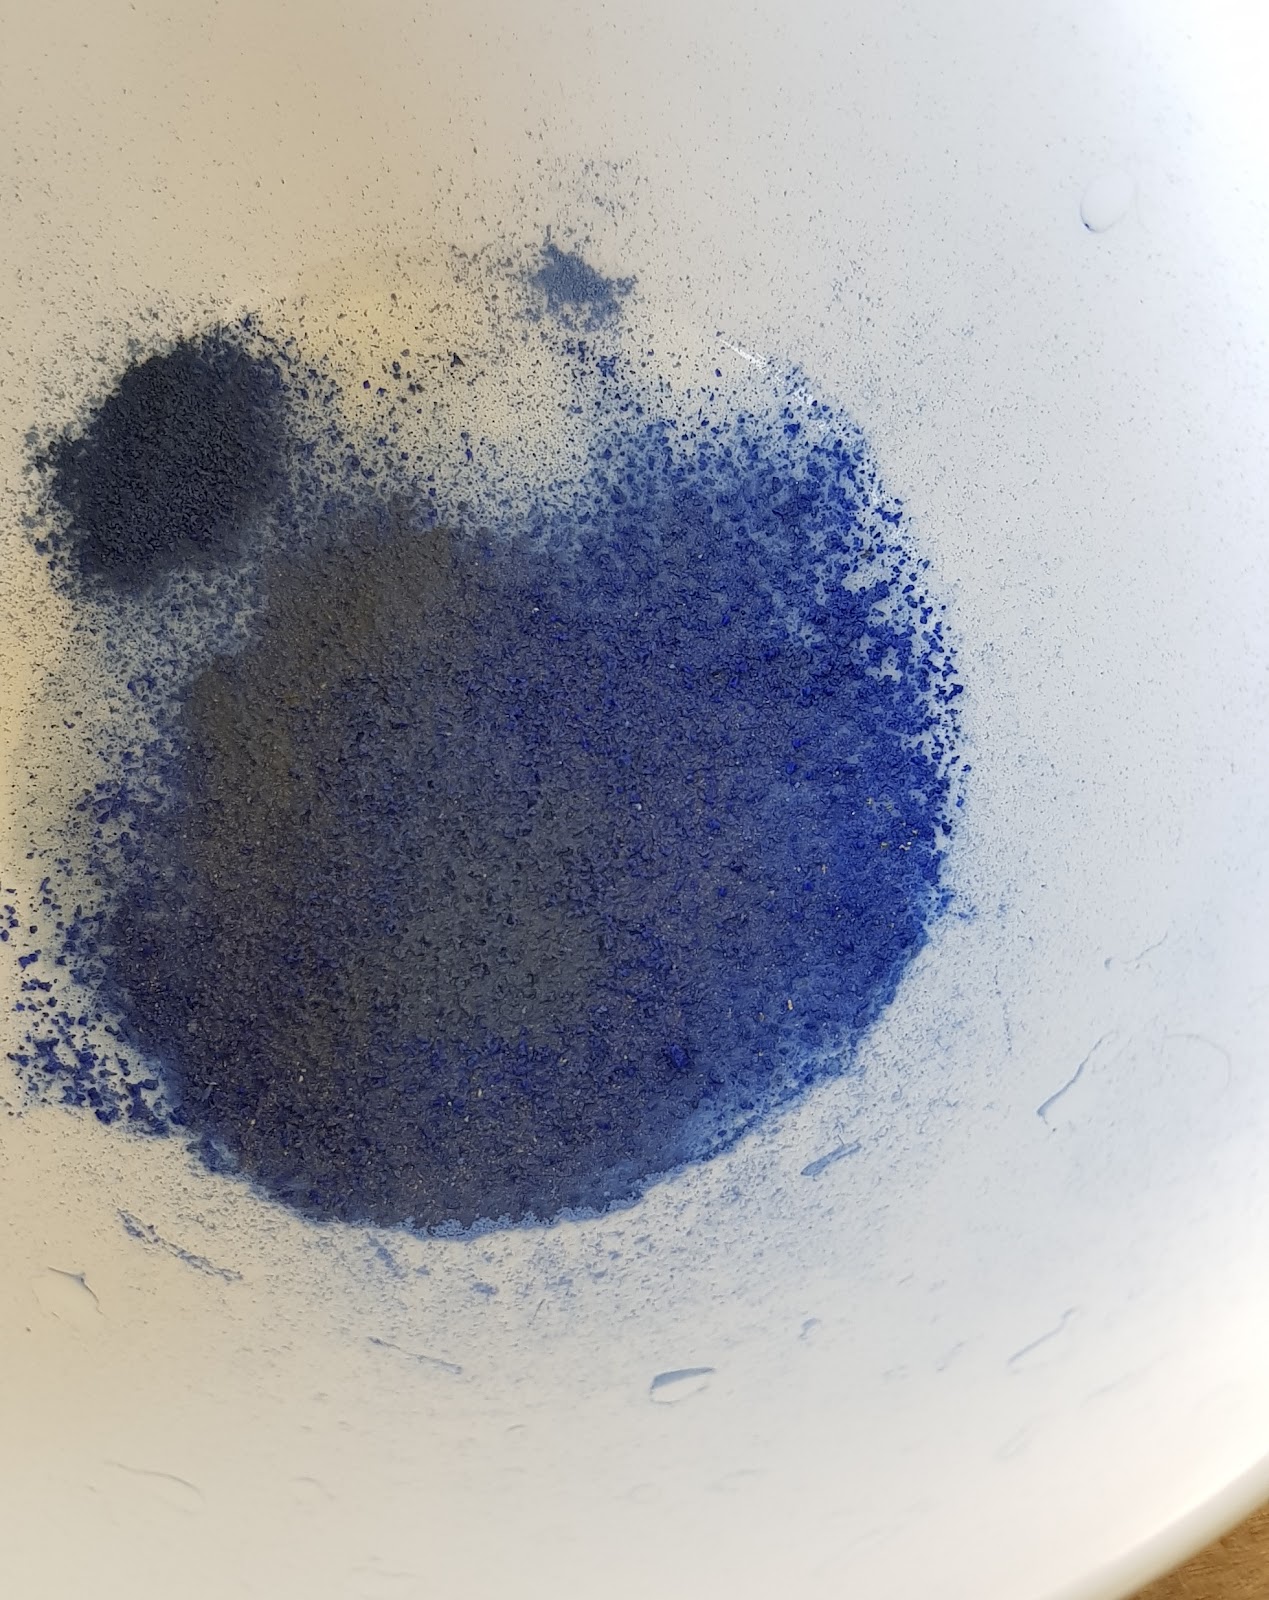
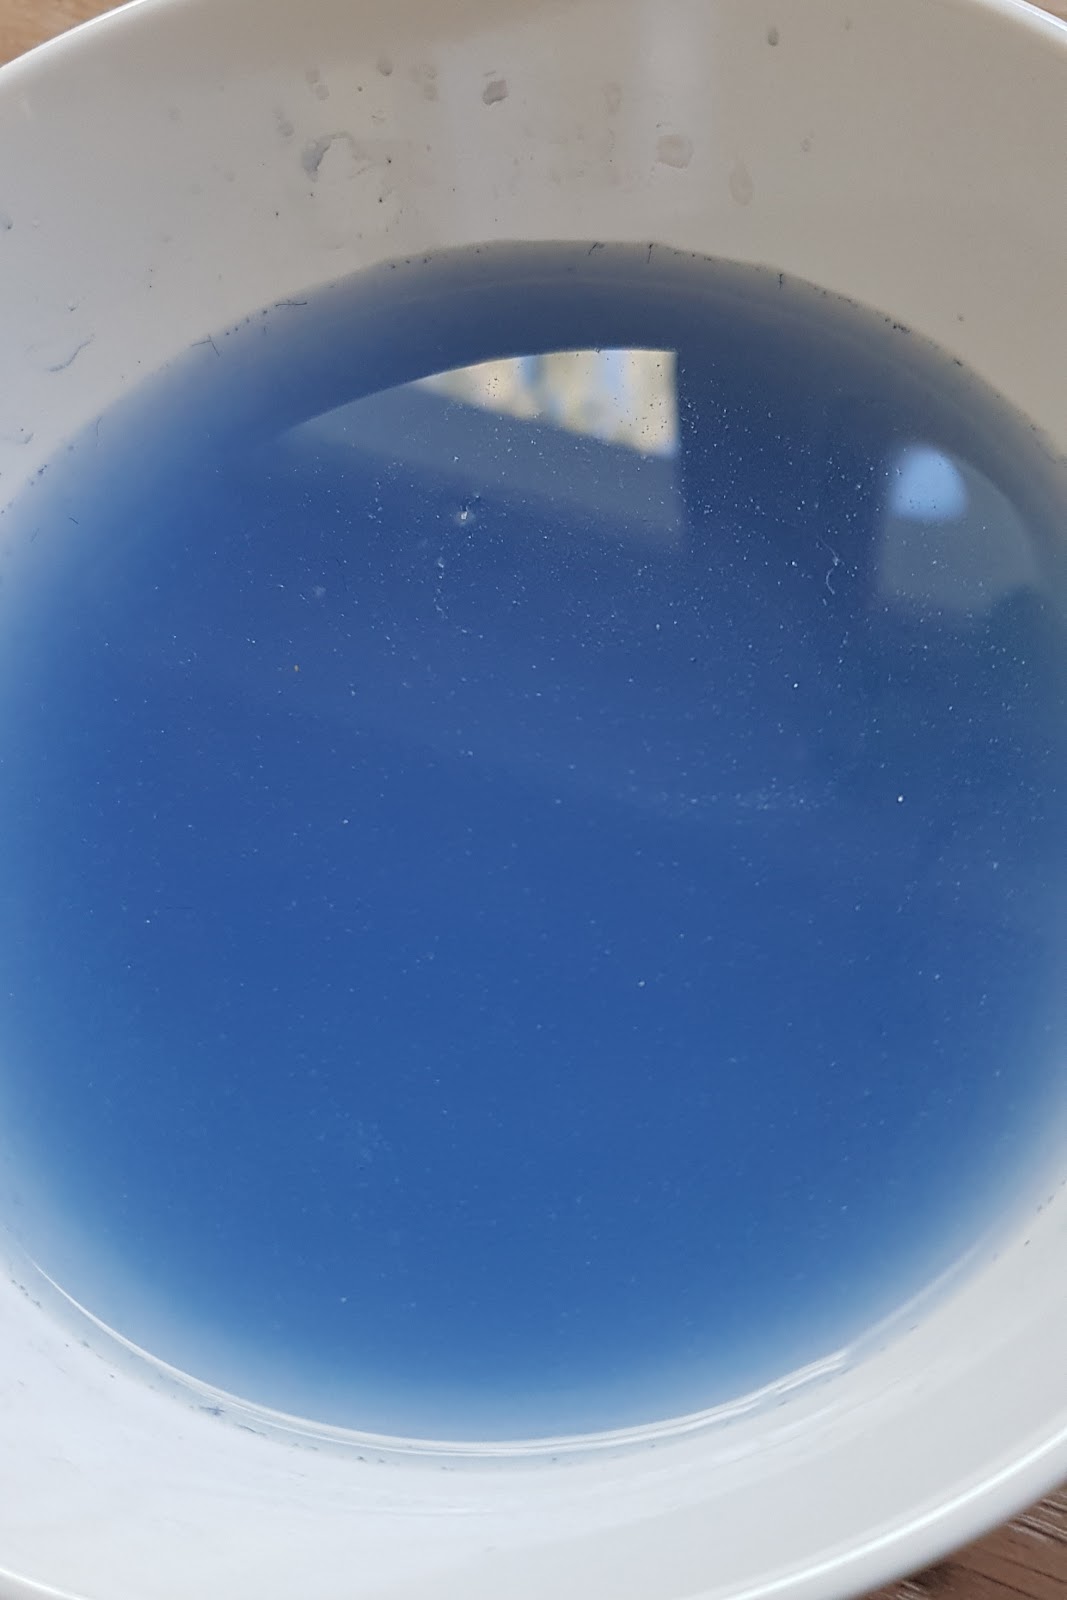
Take a jar and fill it halfway with water, add a tiny amount of lye or sodium bicarbonate and let it dissolve in the water. When it has dissolved, carefully with help from a spatula pour the pigment from the slab into the jar. Swirl the mixture with a stick and let it settle for a short while but not to long, the water should be coloured when pouring it of
(the first times at least).
Slowly pour the water into another jar making sure that the lapis that settled in the bottom will be left in the first jar. Continue to wash the lapis by, adding water, swirl and pour, each time into a new clean jar. When you have 5-10 pourings that have settled pour of the excess water. Now it is time to choose how many shades of the lapis you want. If you want 3 then take the first 1-3 depending on how much pigment they contain and pour them together in a jar.
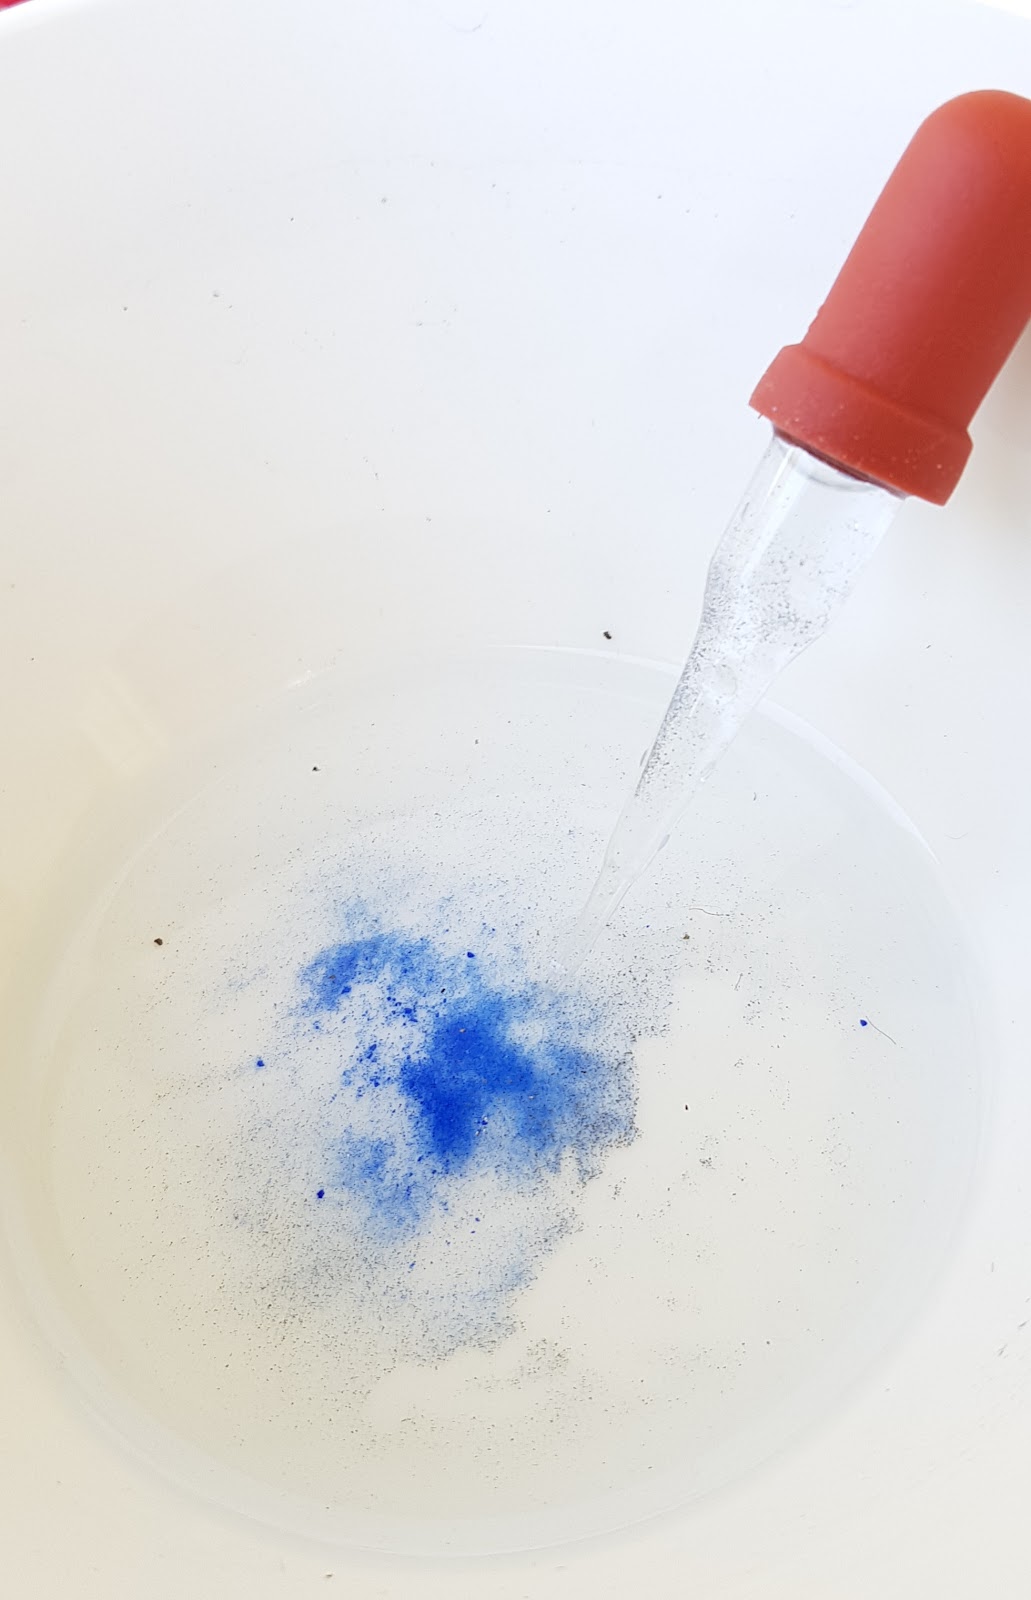
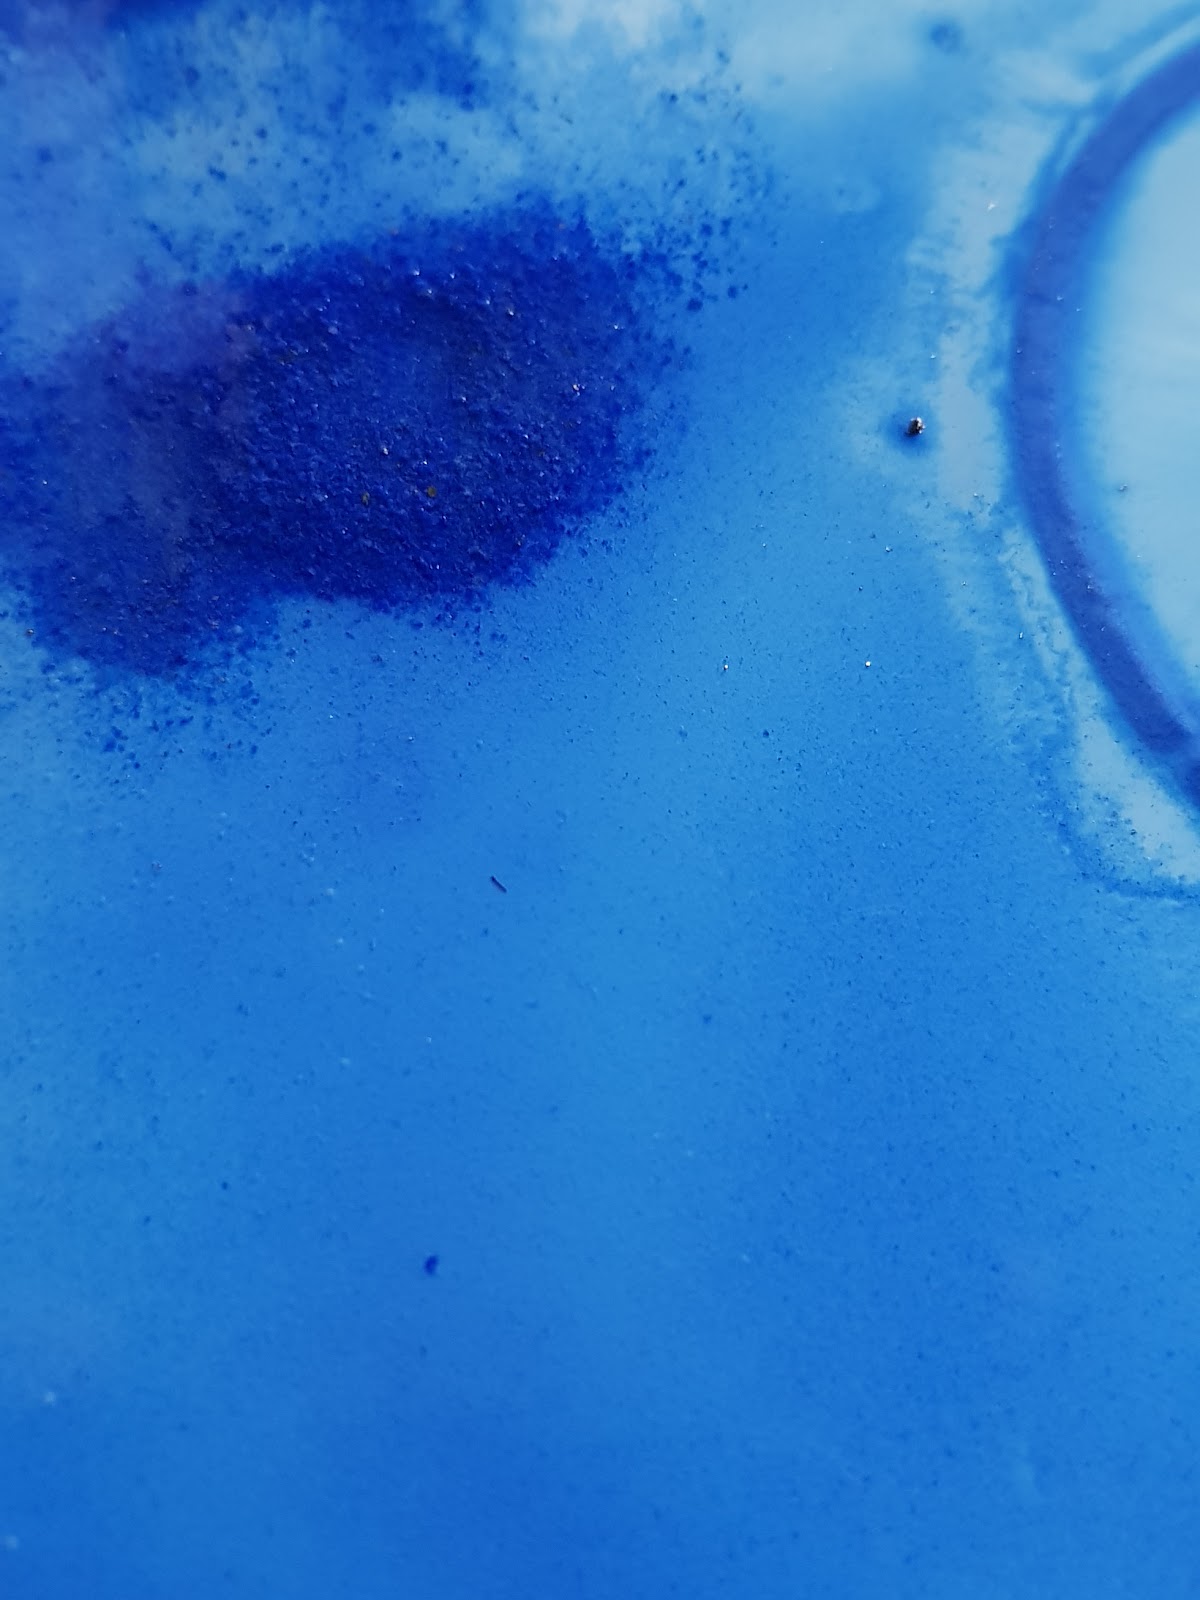
3. When you have enough of pigment to make some paint it is time to clean the pigment again, pour some of the pigment into a jar with clear water, swirl and let it settle and then carefully rinse away the impurities with a pipette.

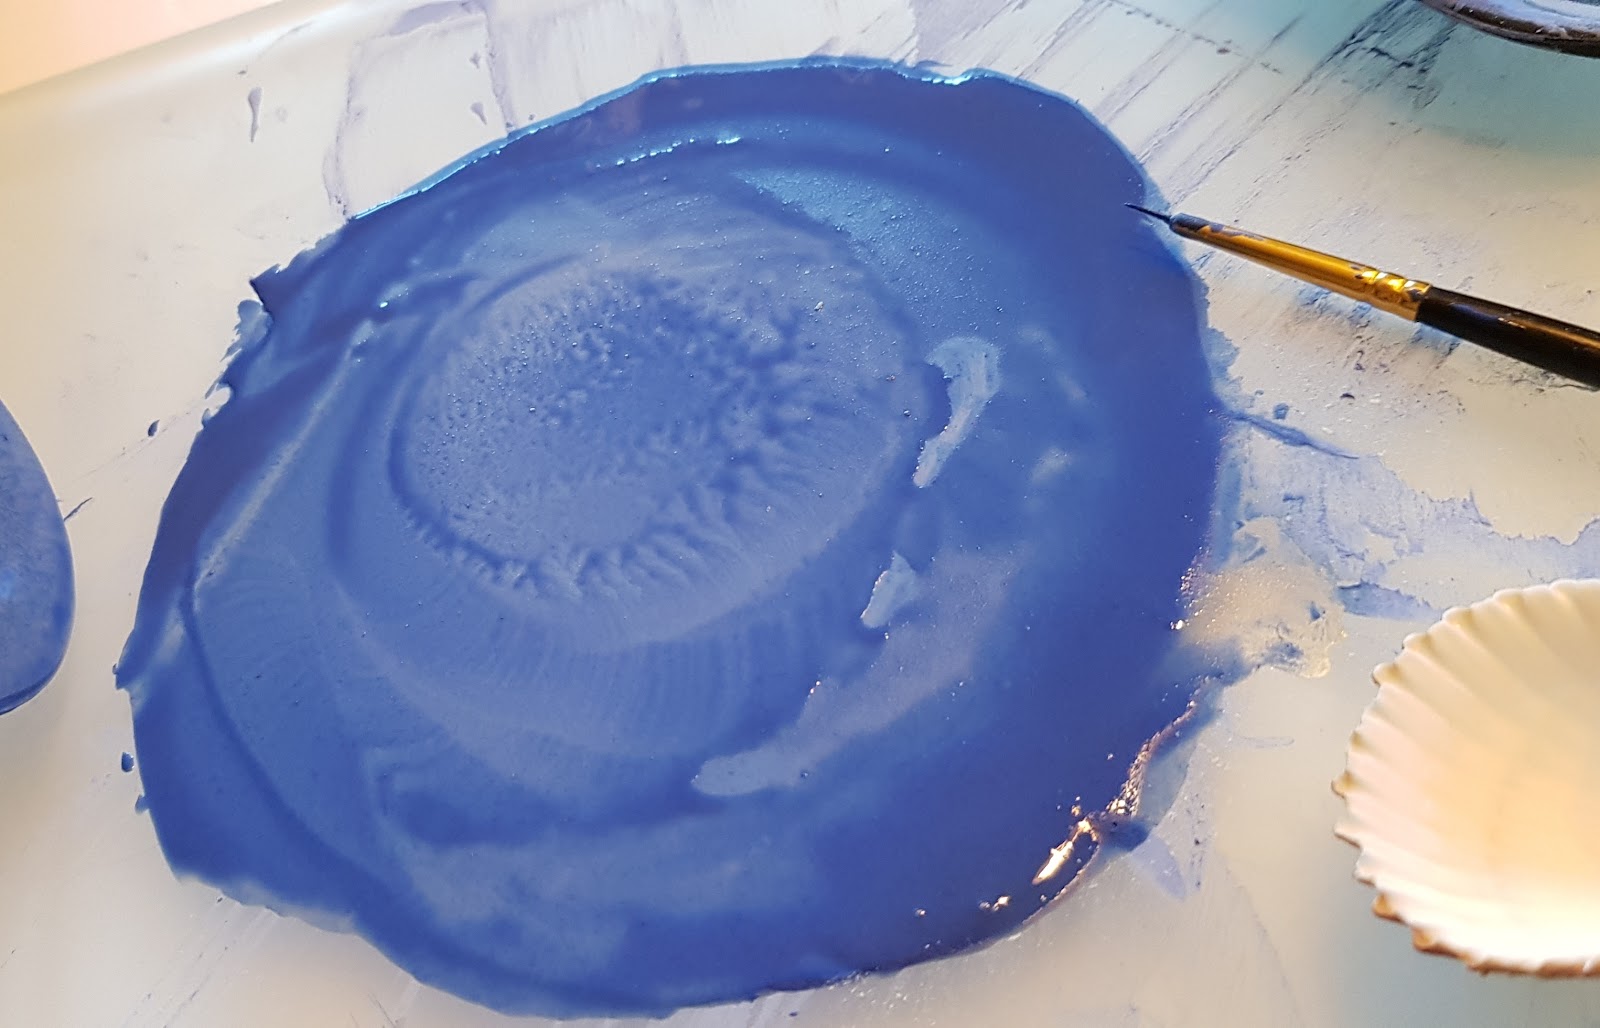
4. When the pigment is clean enough or you just don’t want to spend more time on taking away impurities pour the pigment back to the slab and grind the pigment to very fine particles.
5. Add some gum arabic, powdered or dissolved in water and a tiny drop of honey or a small pinch of unrefined sugar to the mixture.(if you want to increase the shine on the finished color). Time for final grinding, when you’re paint makes a good sound it is time to scroop the colour to a shell.
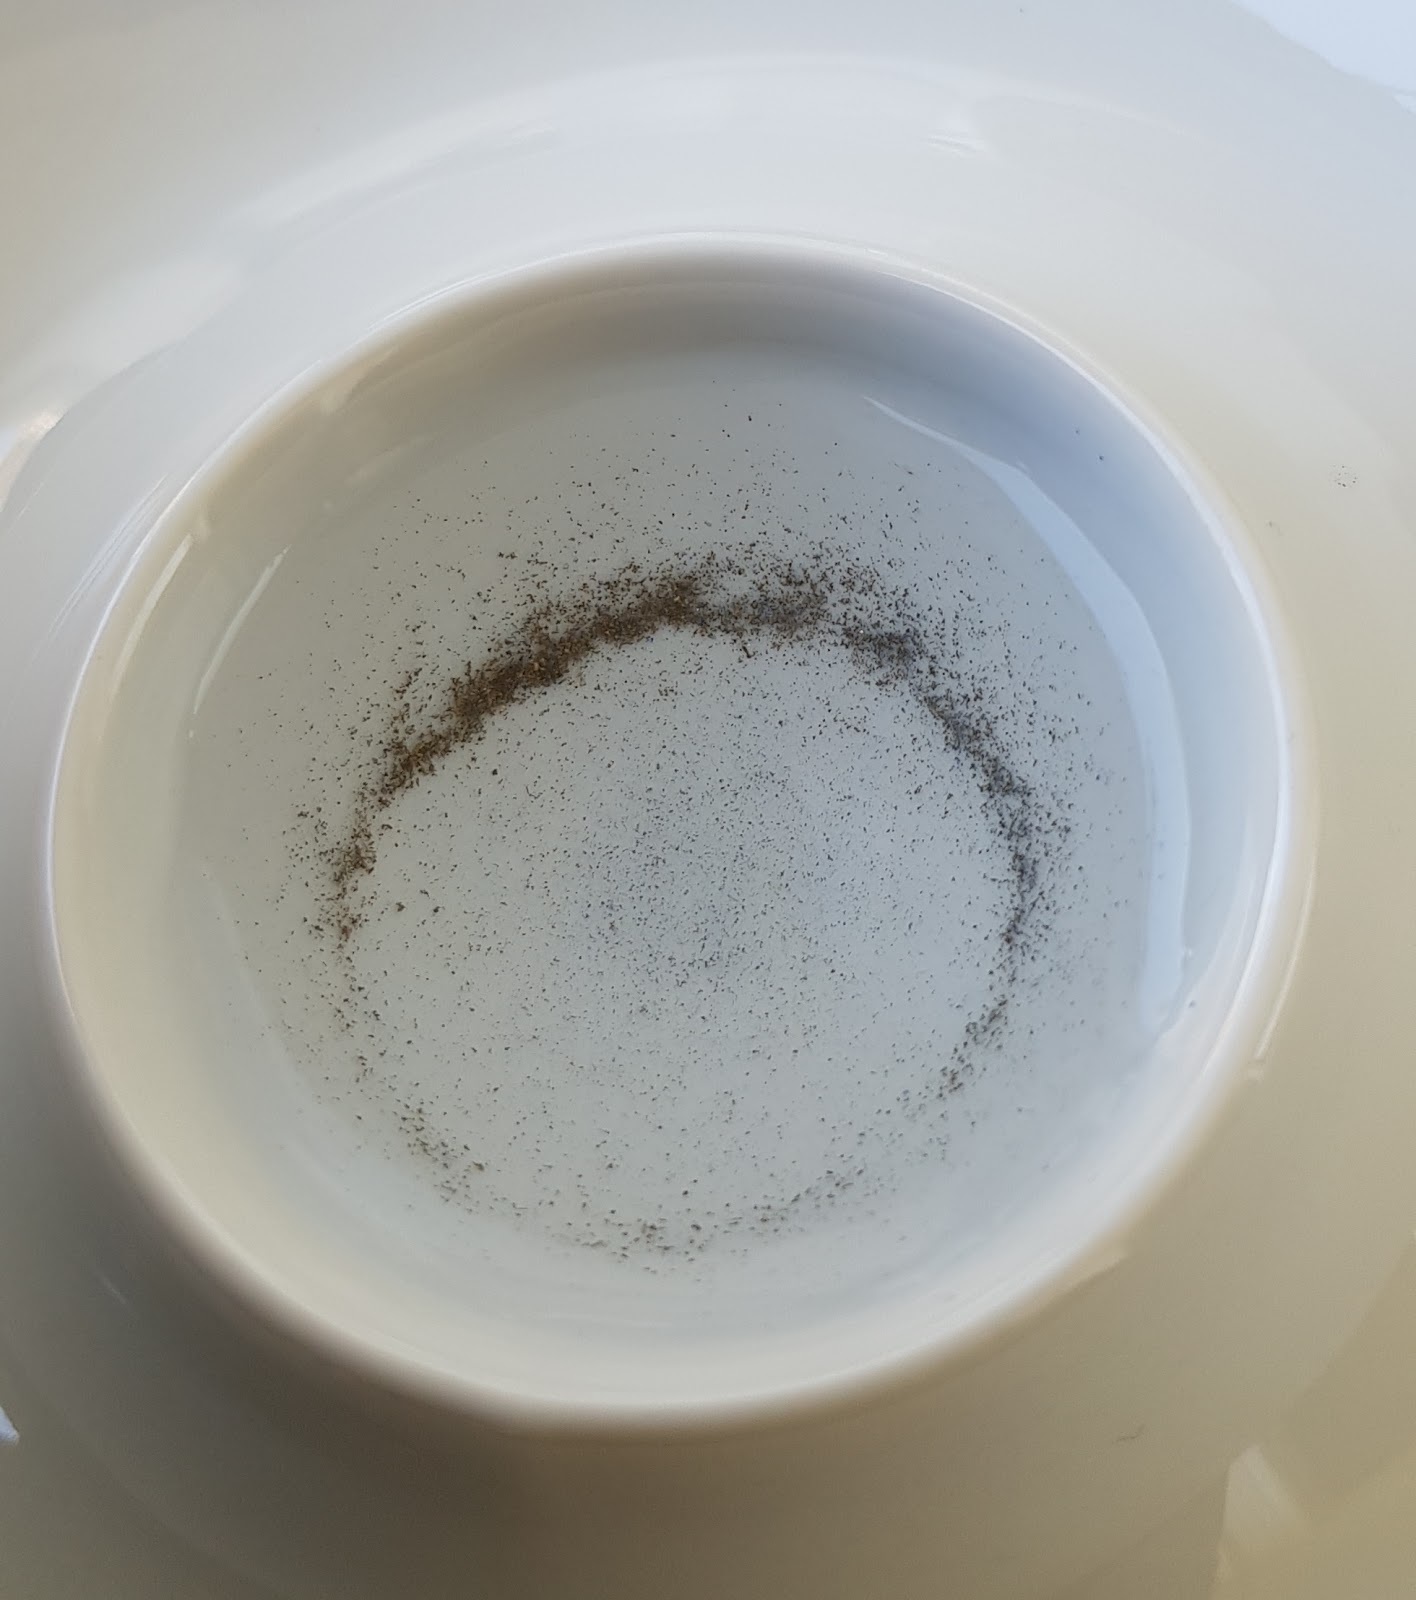
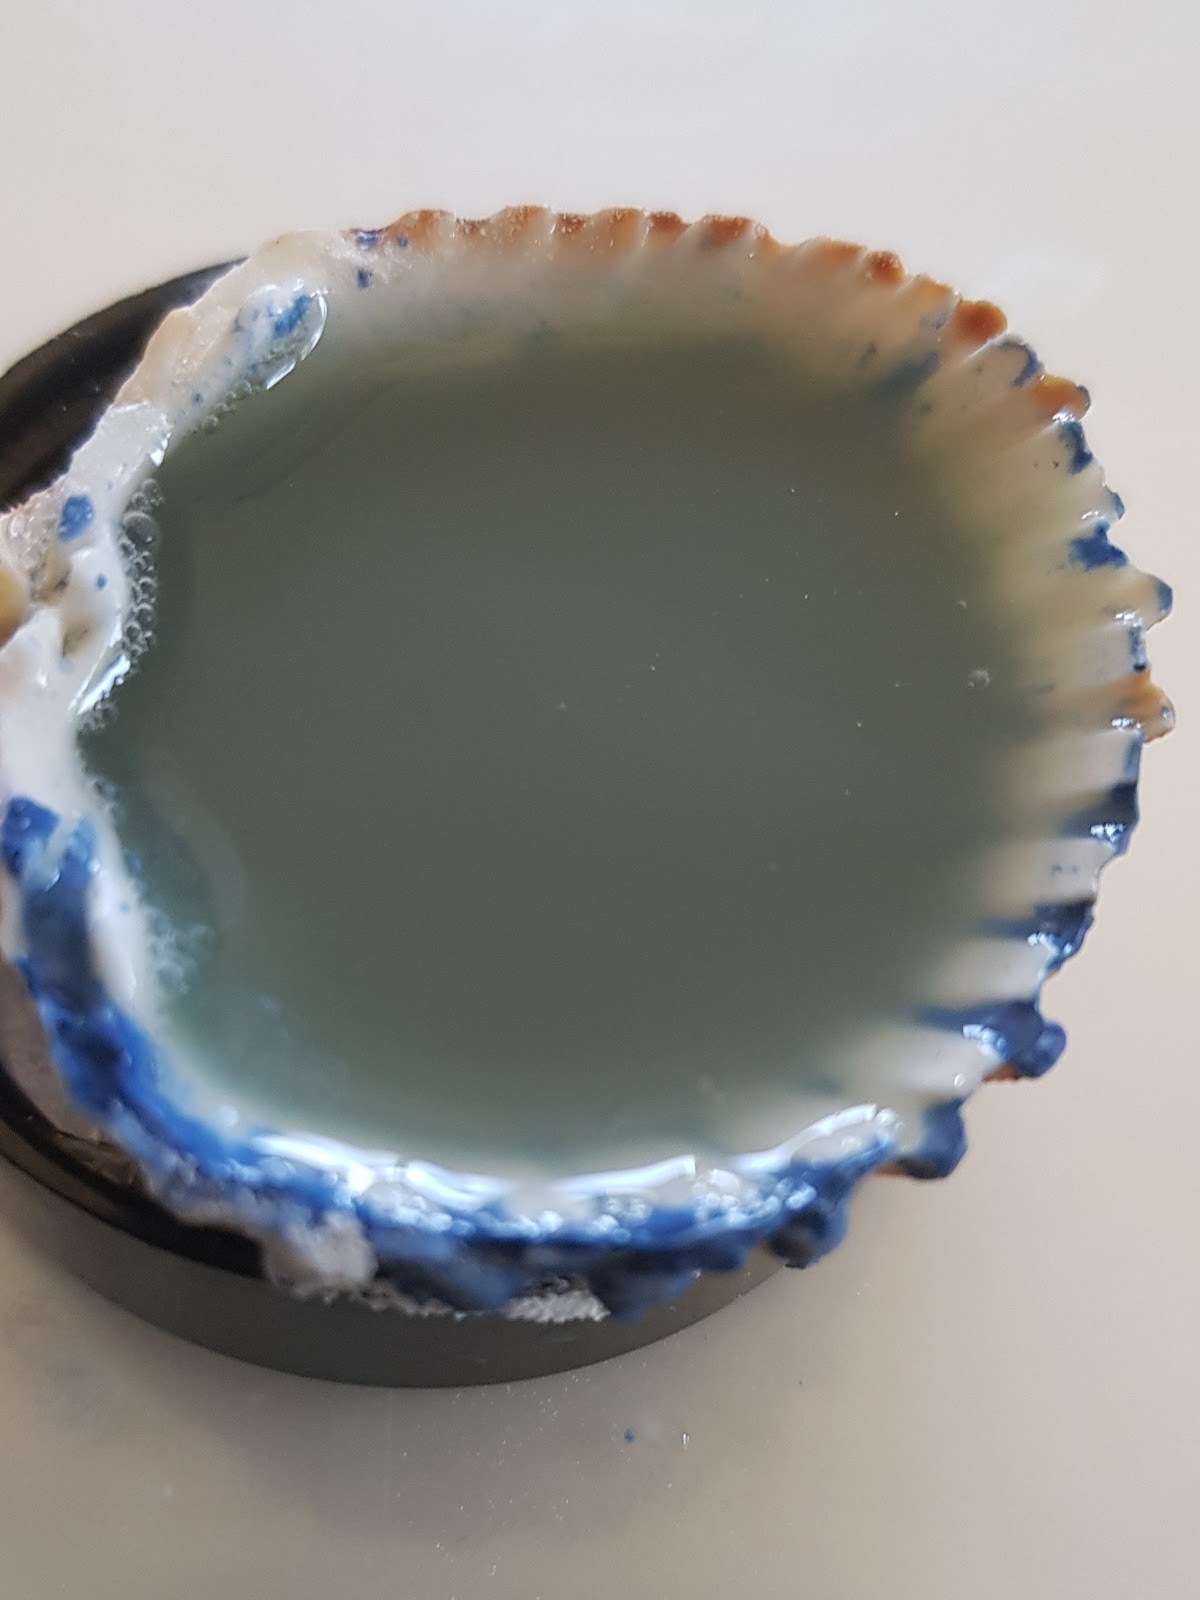
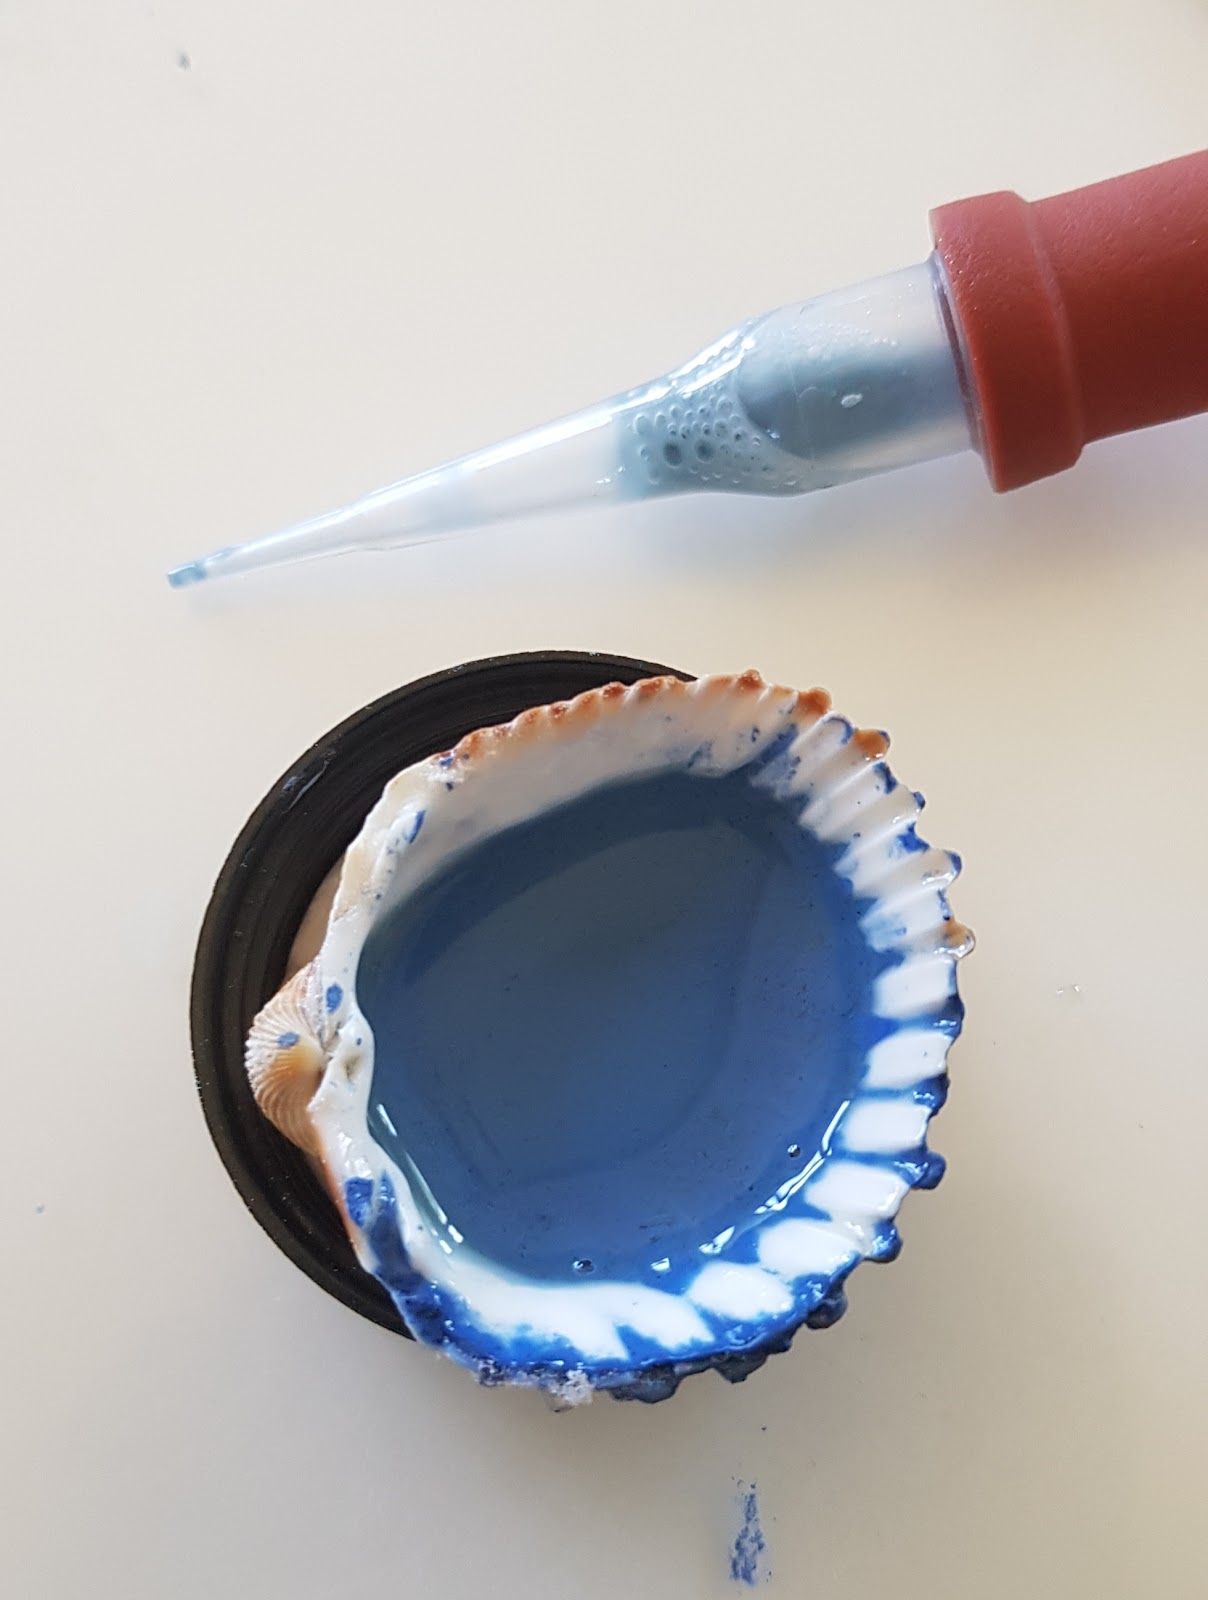
6. Let the paint settle for a while, you will soon notice that the pigment will settle to the bottom of the shell and the water have turned grayish. I guess that the impurities rises from the pigment together with the gum arabic. Now it is time and to do a final cleaning with the pipette. You can choose to add more gum arabic and water and mix it with the pigment and repeat this process if you want. When you are satisfied with the shade of your pigment add some more gum arabic and paint a small test on a piece of paper to see if the paint need more binder or shine to it. Let it dry and gently rub the surface. If your pleased with the result and the pigment stays on your paper the paint is done. If not add either more gum arabic, or honey/sugar. You can start using the paint immediately or let it dry and be used as watercolor.

References
The materials and techniques of medieval painting. D. Thompson. 1956, Dover publications, New york
The craftsman’s handbook, “Il libro dell’arte” Cennino d’Andrea Cennini, translated by D. Thompson. 1960/1933, Dover publications, New york

[…] used iron gall ink, bronze powder mixed with gesso and ultramarine blue made from lapis lazuli, ocher from my garden, titanium white, black and madder red. All paints, the ink , gesso and quills […]